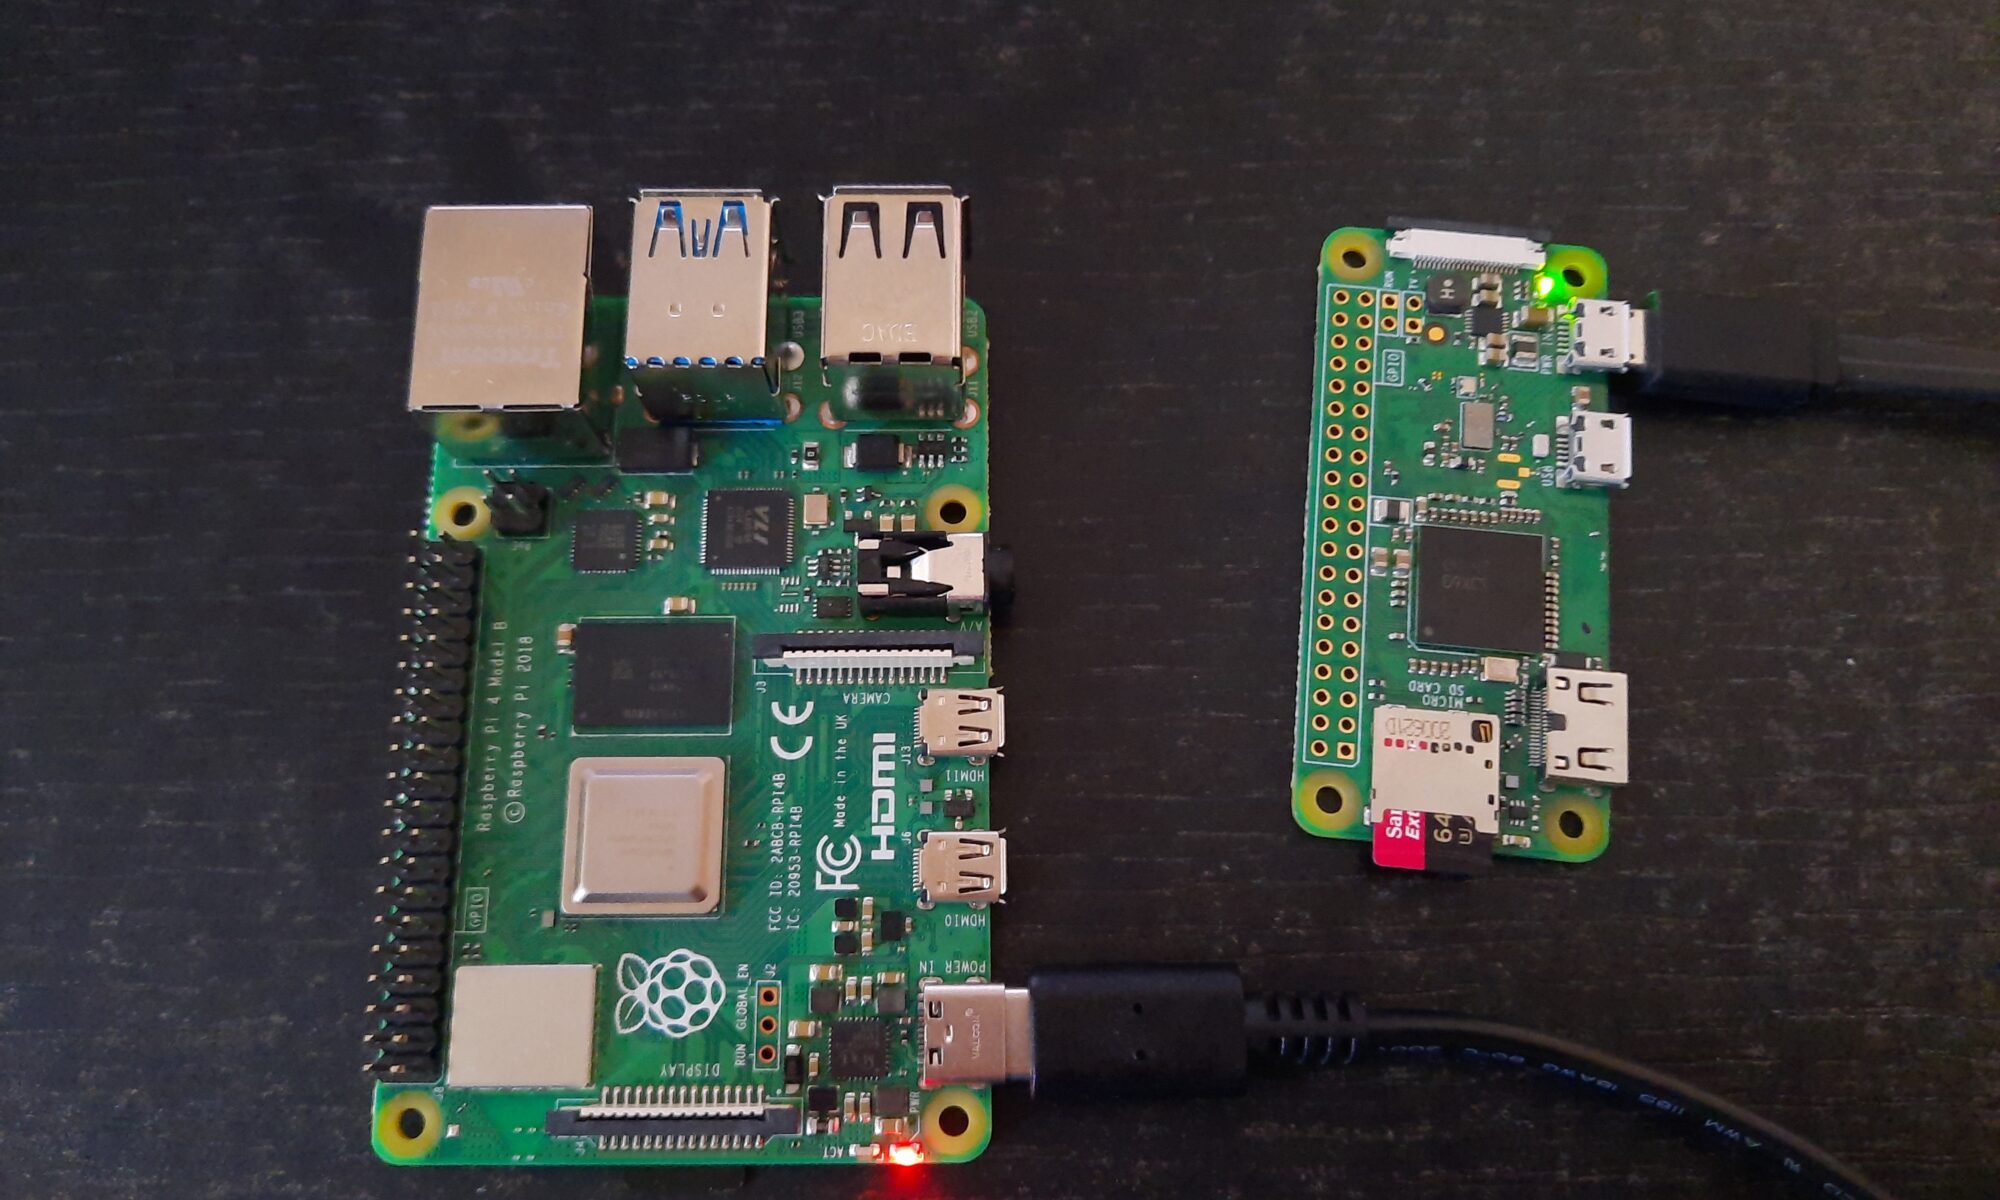
This procedure serves my convenience. No keyboard and mouse tampering. Simple.
Works with any Wifi-enabled Raspberry Pi.
Steps I took for Raspi Zero W and Pi 4 B:
- Make a bootable SD-Card with Raspberry PI Imager. For Example “Rasperry Pi OS Lite (32-Bit)”.
- Edit the SD-Card.
- In the root folder of “boot” create an empty file. Name it “ssh”. This will activate the OpenSSH-Service on next boot.
- Prepare Wifi connection by creating the file “wpa_supplicant.conf” in the same folder.
- Open the file and insert following text:
country=DE
ctrl_interface=DIR=/var/run/wpa_supplicant GROUP=netdev
update_config=1
network={
     ssid="WLAN SSID"
     scan_ssid=1
     psk="WLAN PASSWORT"
     key_mgmt=WPA-PSK
}
- You have to change “WLAN SSID” and “WLAN PASSWORT” to your needs, of course.
- Insert the edited SD-Card into Raspi and boot it.
- After booting the Raspi should be visible in your network as “raspberrypi.NETWORKNAME”. This is easy with the help of a network scanner.
- Now you can open a ssh connection with PuTTY. Confirm the ssh certificate.
- The default login is “pi” with password “raspberry”.
- I recommend changing the password with the “passwd” command.
- Install other missing software.
- Done.
Postscript:
2021-08-23 This does not work with Ubuntu Server 20.04.2 LTS (RPI 3/4/400)
2021-08-30 Instead of the above procedure, in the Raspberry Pi Imager you can type the magic key combination Ctrl-Shift-x for the advanced options.

