Why the parenthesis around wireless? Because there is an issue with the cloudinit/netplan, I can’t figure out yet. The setup for wifi only works when an ethernet-cable is connected to the Raspi on first boot. After the initial first boot it works without ethernet. Strange!
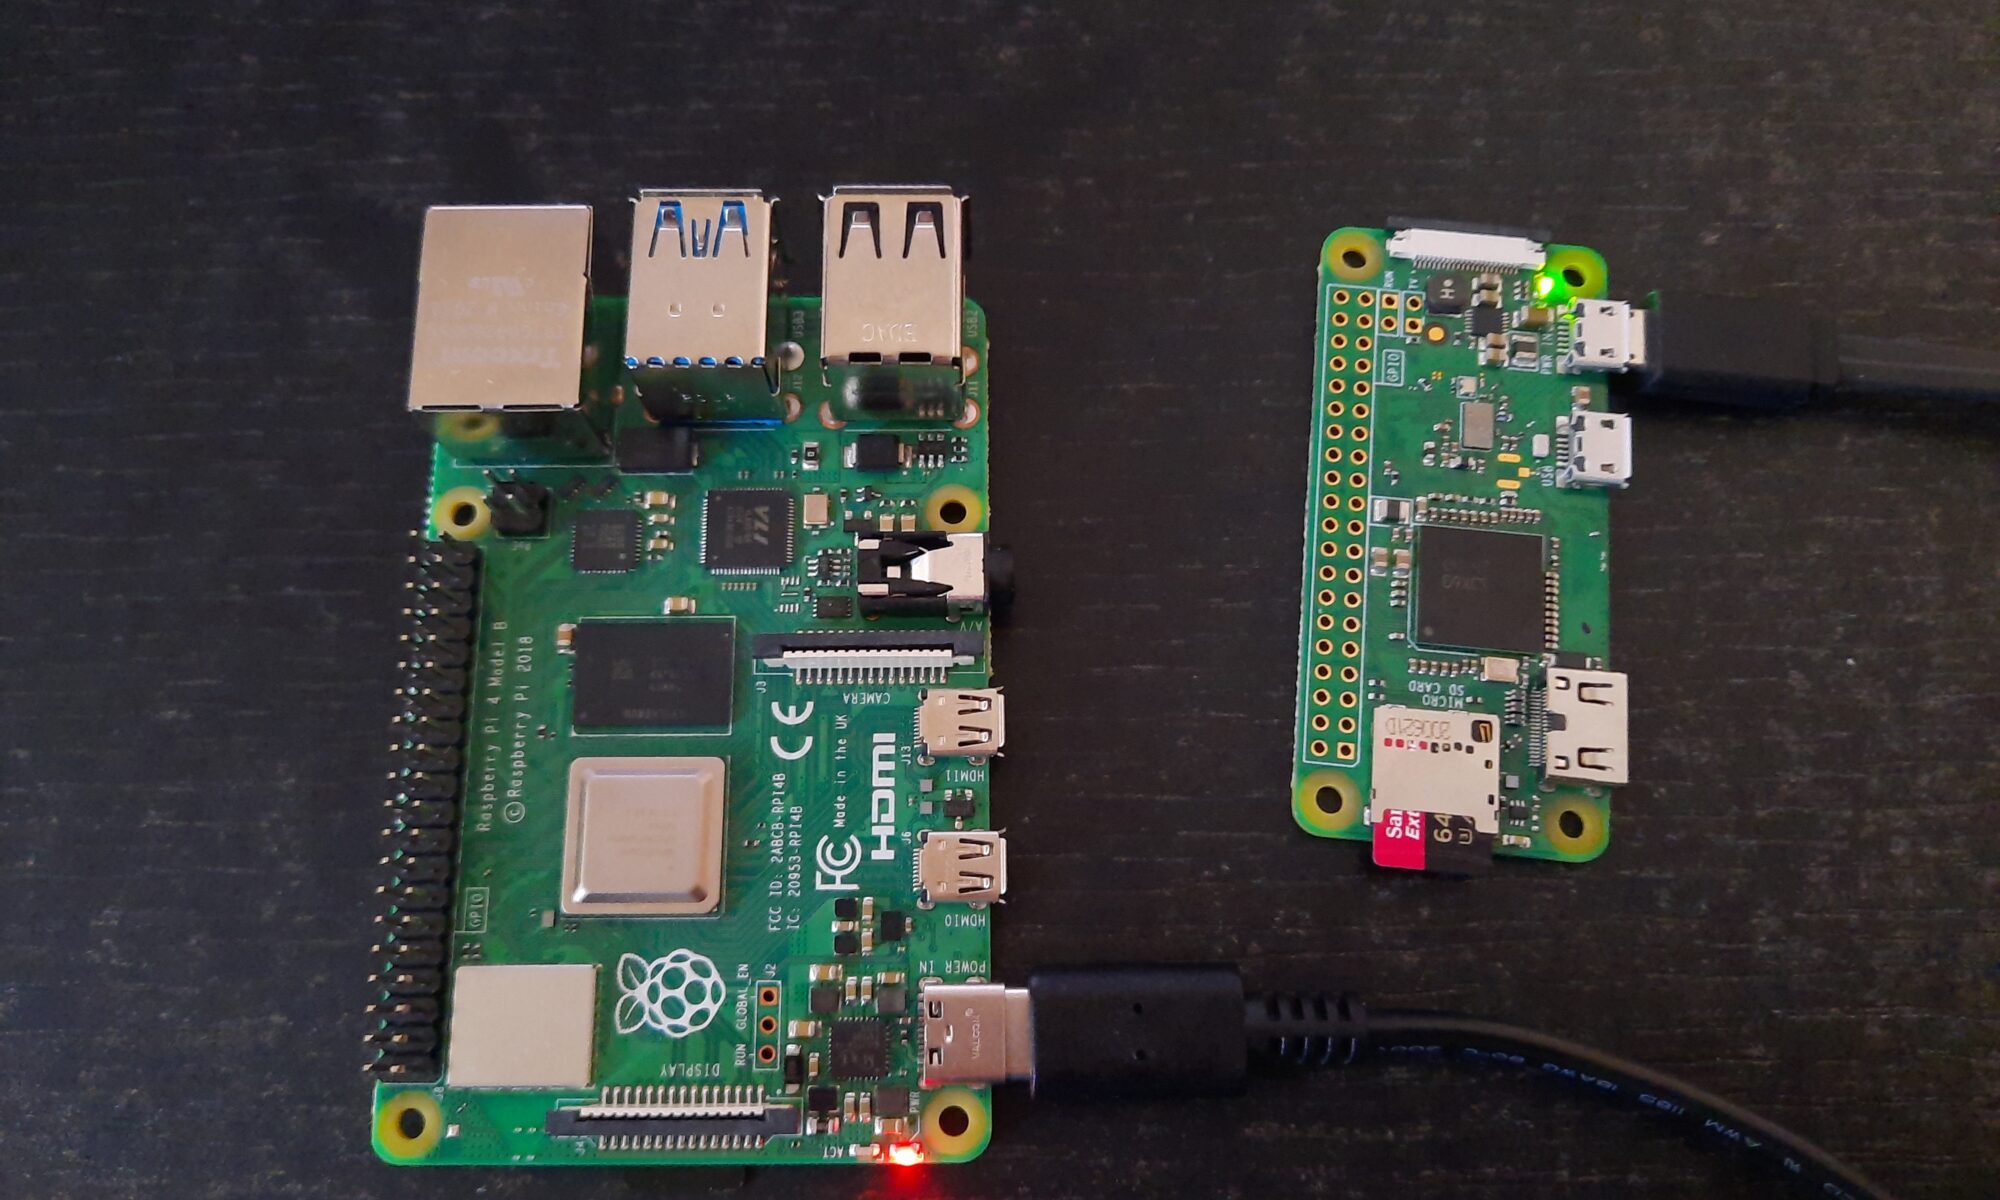
The procedure is tested with Raspberry Pi 4 B.
- Start the Raspberry Pi Imager.
- Make a SD-Card with Ubuntu Server 20.04.2 LTS (RPI 3/4/400).
- Open the file “network-config” on the SD-Card with notepad++.
- This is a yaml configuration file. Yaml is a picky diva. There MUST be no tab-stop in the file. The indentations must all be spaces. Therefore you better switch on the visibility of the non printable characters.
- Make your changes. An example is below.
- Insert SD-Card in your Raspi.
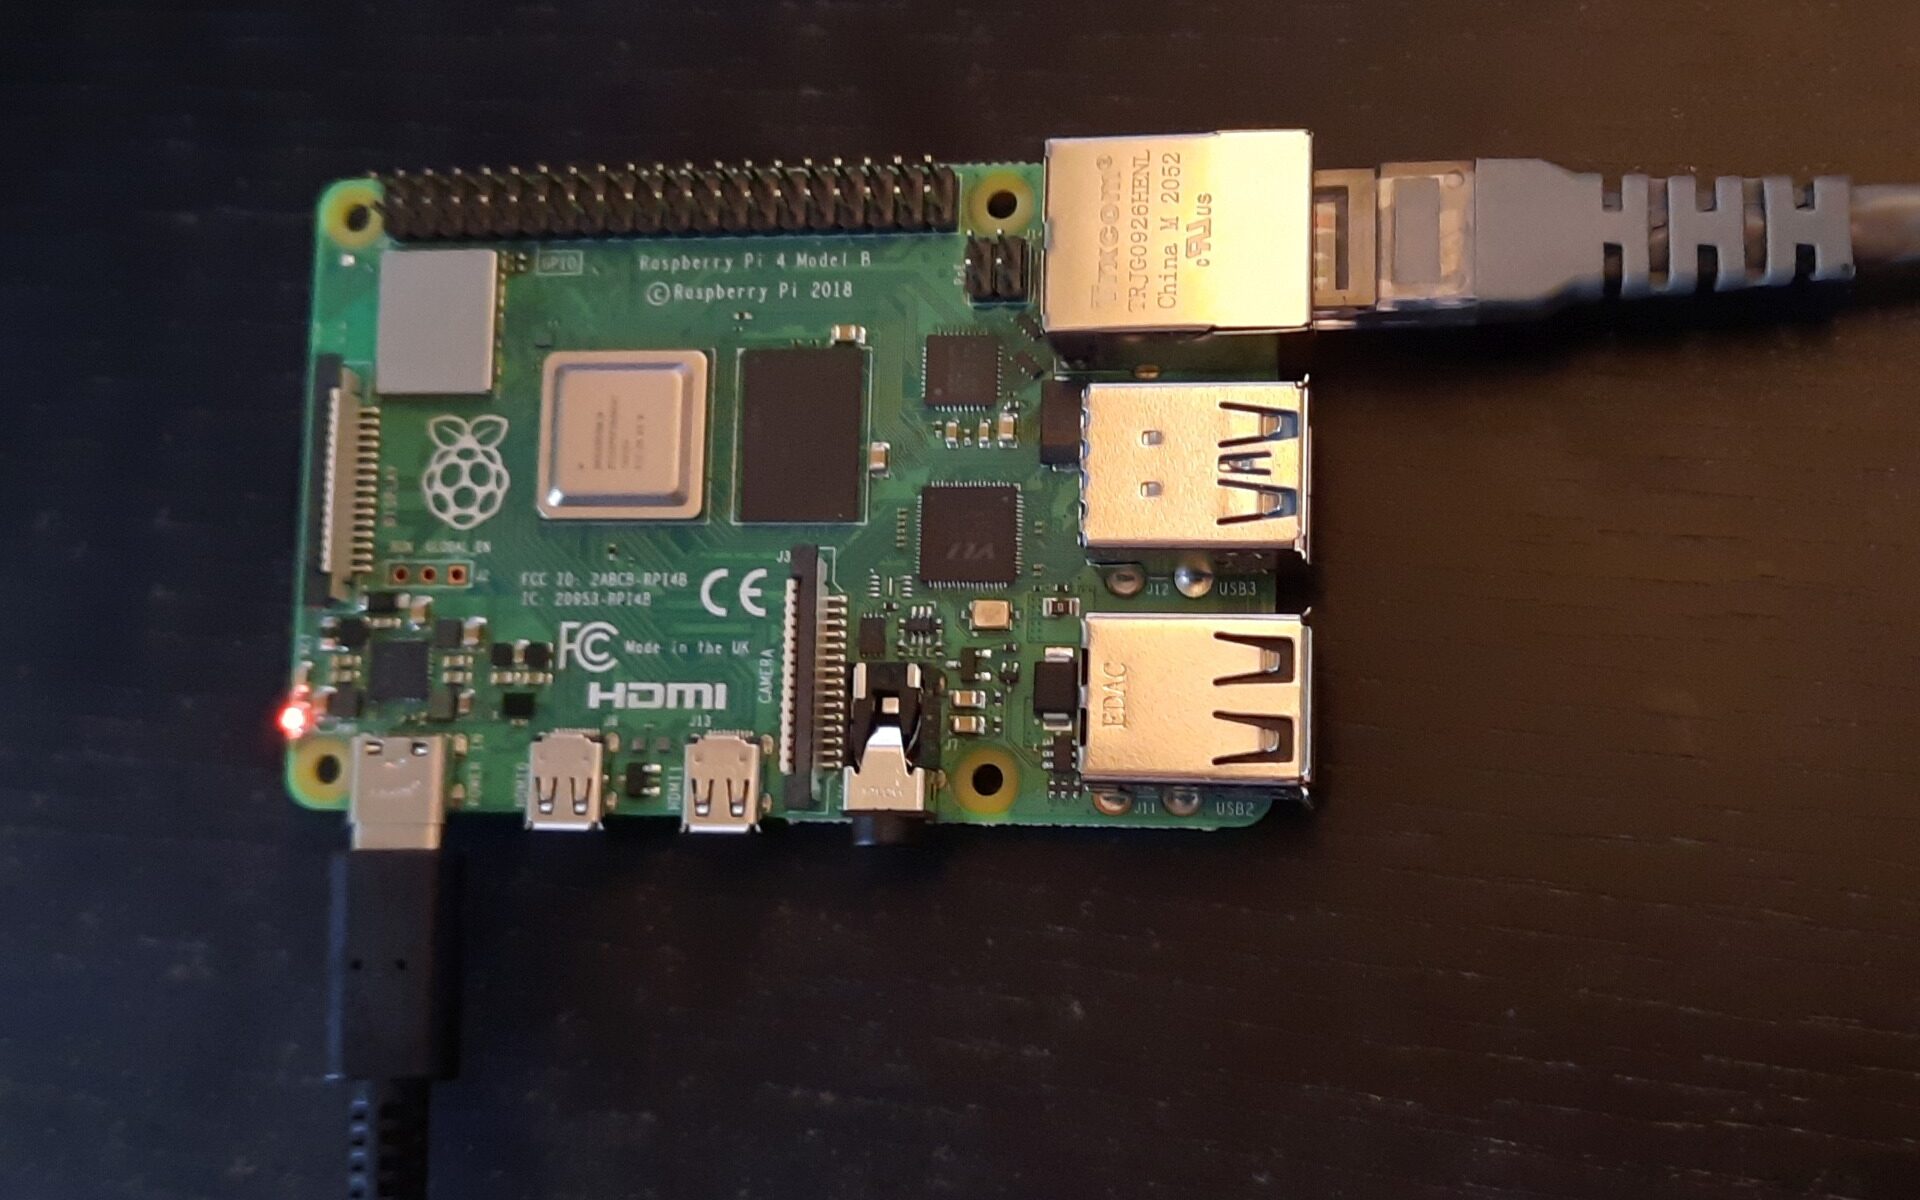
- Connect the ethernet cable.
- Boot your Raspi.
- After a couple of minutes you will see your Raspi on your wired network. The wifi is not working yet.
- Rebooting the Raspi is activating the wifi connection. You can get rid of the ethernet cable now.
- Ssh is running. You can login over Wifi with PuTTY . The default login for Ubuntu server is
User: ubuntu
PW: ubuntu
Example network-config file
# This file contains a netplan-compatible configuration which cloud-init
# will apply on first-boot. Please refer to the cloud-init documentation and
# the netplan reference for full details:
#
# https://cloudinit.readthedocs.io/
# https://netplan.io/reference
#
# Some additional examples are commented out below

version: 2
ethernets:
  eth0:
    dhcp4: true
    optional: true
wifis:
  wlan0:
#    dhcp4: true
    addresses:
      - 192.168.0.66/24
    gateway4: 192.168.0.1
    nameservers:
      addresses: [192.168.0.1]
    optional: false
    access-points:
      "mywifi_net1":
        password: "mysecretpassword"
#      myworkwifi:
#        password: "correct battery horse staple"
#      workssid:
#        auth:
#          key-management: eap
#          method: peap
#          identity: "me@example.com"
#          password: "passw0rd"
#          ca-certificate: /etc/my_ca.pem
##Reboot after cloud-init completes
#power_state:
#  mode: reboot